Location Tagging Live in Social Planner!
Enhancing Your Social Media Posts with Location Tagging on Gold Star Pro
Gold Star Pro has introduced an exciting new feature in the social planner: location tagging for social media posts. This update allows you to tag specific places or locations in your posts, enhancing engagement and visibility. Here's a step-by-step guide on how to use this new feature.
How to Add Location Tagging to Your Social Posts
Step 1: Access the Social Media Posting Section
Go to the social media posting section on your Gold Star Pro dashboard.
Click on "New Social Post."
Step 2: Use the New Location Tagging Icon
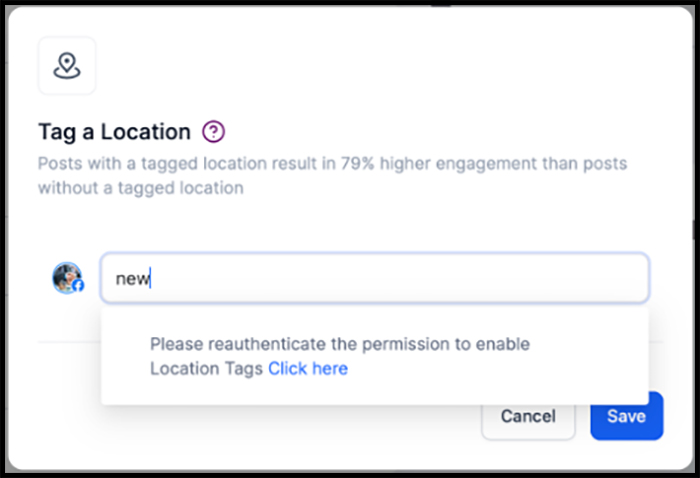
Look for the new location tagging icon within the post creation interface.
Click on this icon to start adding a location tag to your post.

Step 3: Search and Select the Location
Start typing the desired location in the search bar.
Select the specific place or area from the suggestions.

Step 4: Customize for Different Accounts
If you manage multiple social media accounts, you can add different locations for each account.
This customization ensures each account's post is accurately geotagged.
Step 5: Review and Finalize Your Post
After adding the location, proceed with entering your content as usual.
The location tag will appear in the post preview on the right-hand side.
Benefits of Location Tagging
Improved Visibility and Engagement
Location tagging boosts the visibility of your posts by making them discoverable to users interested in specific areas.
Enhanced engagement can lead to better insights and increased interaction from followers.
Conclusion
This new feature in Gold Star Pro's social planner is a powerful tool to enhance your social media strategy. By geotagging your posts, you can improve their reach and engagement. Start using location tagging today and see the difference it makes.

